Portfolio Record of Competencies
This page describes how to setup sharing to use OB3 to record a record of student competencies. In this scenario:
- the students can view their competency page
- optionally students can start discussions on their page(s) which will generate an email discussion thread with the staff
- staff and/or assessors can record competency updates on pages
Step 1. Create the competencies course in the PMA account
- login to your PMA accound
- create a course for recording student competencies. Use appropriate naming e.g. 2023 S2 DEMO111 Record of Student Competencies
- if you are intending to record compentencies in a folder within an existing course, skip this step
Step 2. Create your template folder for the competencies activity
-
in the PMA account (not in the course) create a folder "Template DEMO111 Record of student competencies"
-
inside this create a subfolder "DEMO111 Record of Student Competencies"
-
inside this create document(s) to act as template examples for recording the student competencies.
-
when your template is complete and ready for use click the checkbox to the right of the folder

- ...and click the Copy button at the top right of OB3
Step 3. Setup the assessment folders
- open the newly created competency course ("2023 S2 DEMO111 Record of Student Competencies")
- create a subfolder where we will create the individual student (e.g. "Student Competencies")
- from the button bar at the top of OB3 click "Paste" to paste your template assessment folder
- select the pasted example and click copy and paste to paste an additional copy
- Select the two pasted folders and click copy and paste to paste 2 more. Repeat process until you have the desired number of assessment folders
- rename the folders to add the student name, year and semester

Note that you can double click on any file as long as you don't click on the name itself, to switch to edit mode. If you click on the file name, it will open the folder/document. Example of file name edit mode:

Step 4. Share the folders with individual students
- click on the "people" icon at the right of the folder you want to share to open the Sharing and Permissions dialog

- type the email address of the student and select the privilege they should have. This might be view and discuss, or it could be View if you only want them to be able to view their competencies.
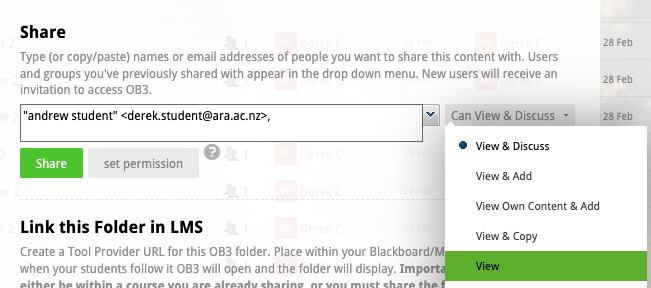
- click the Share button. Note, this will separately share the folder with the student at the top level of their OB3 files and folders.
- Note: Ara students will not receive an email invite to this folder when you click share - but once logged in to OB3 they WILL be able to see their folder by following the LMS link.
Step 5. Share the course with the LMS
- in the PMA account select the portfolio assessment folder and open the Sharing and Permissions dialog
- select the option to share this course with the LMS. The LTI link for the course will be created and course groups for Instructor and Learner will be created.
-
Add the LTI link to your moodle course and test that it works. You will be added as an instructor to the course and should be able to view/access all the content
-
note that currently (by default) students are able to view and discuss the entire course. This is OK
Step 6. Restrict student access to only view their competency folder
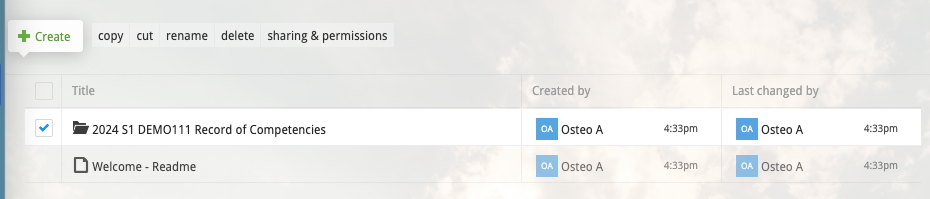
- now open the course itself and select the subfolder containing the assessment folders. Create a welcome document - this is the place where we can create any special instructions for this Record of Competencies course
-
select the subfolder containing the individual student records of competency folders
-
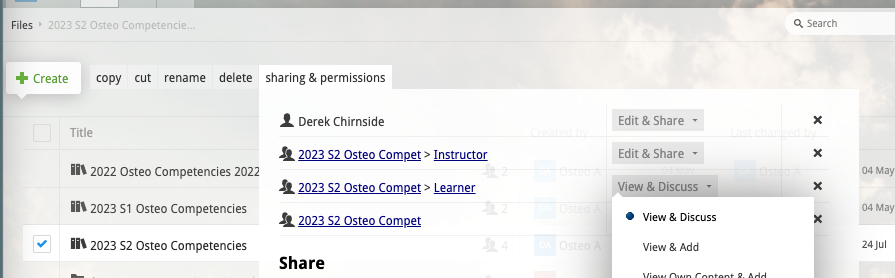
open the Sharing and Permissions, start typing the year and semester in the user/group box to bring up the list of available groups
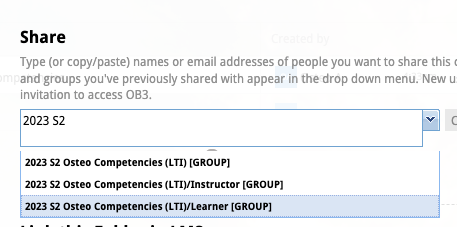
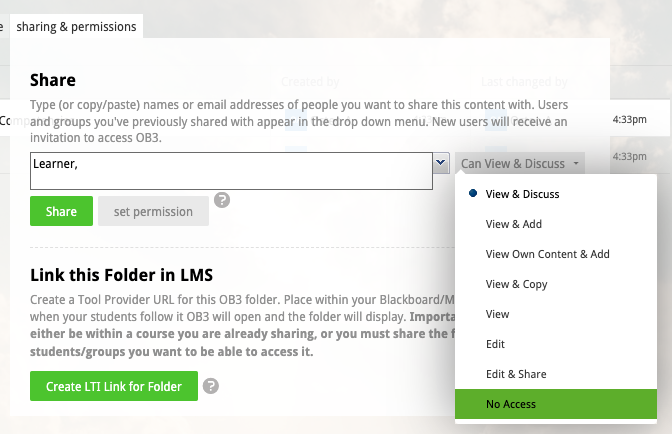
- select the correct learner group and choose "No Access" and click "Set permission". This adjusts the sharing permission for students on this folder.
- students won't be able to view this folder BUT remember we have individually shared their portfolio folders separately, so they WILL be able to view those
- alternatively you can choose "View own Content and Add". In this case the students can open and view the folder - they will only see their own folder. The advantage here is that they can navigate into the course and see the folders directly. But, with this option they would be able to create their own folders and documents in the folder. They probably won't do this but they would be able to do it.